Troopy build
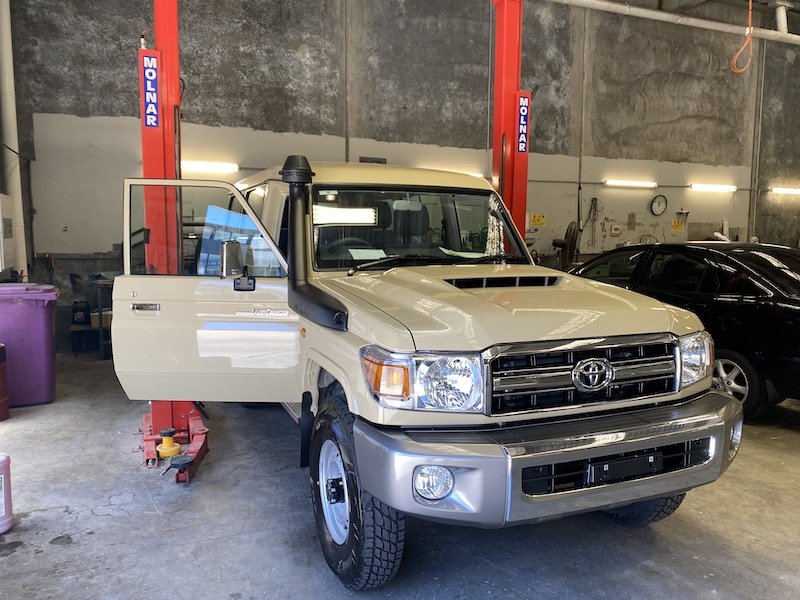
Back in May 2021, three months before we arrived in Australia, we placed an order with Melbourne City Toyota for a brand new Toyota Land Cruiser Troop Carrier (78 series), a popular 4-wheel drive (4WD) vehicle affectionately known by owners as a Troopy. These are pretty basic machines used by farmers and mines the world over because they are very reliable, not complicated to work on and parts are easy to source, even in remote areas. The design has hardly changed in around 40 years, they don’t have complicated sensors everywhere to go wrong but you do have to pay extra for electric windows and central locking! Our Troopy finally arrived in Australia in late December 2021 after a COVID-19 related delay. We went to see it looking all new and shiny at the Toyota dealership. Although we had the dimensions, we needed to check some practical details before planning our interior build. I checked the likely height for seating using a milk crate and we noted that the space taken by the rear seats when folded was just too much and decided they would have to go.
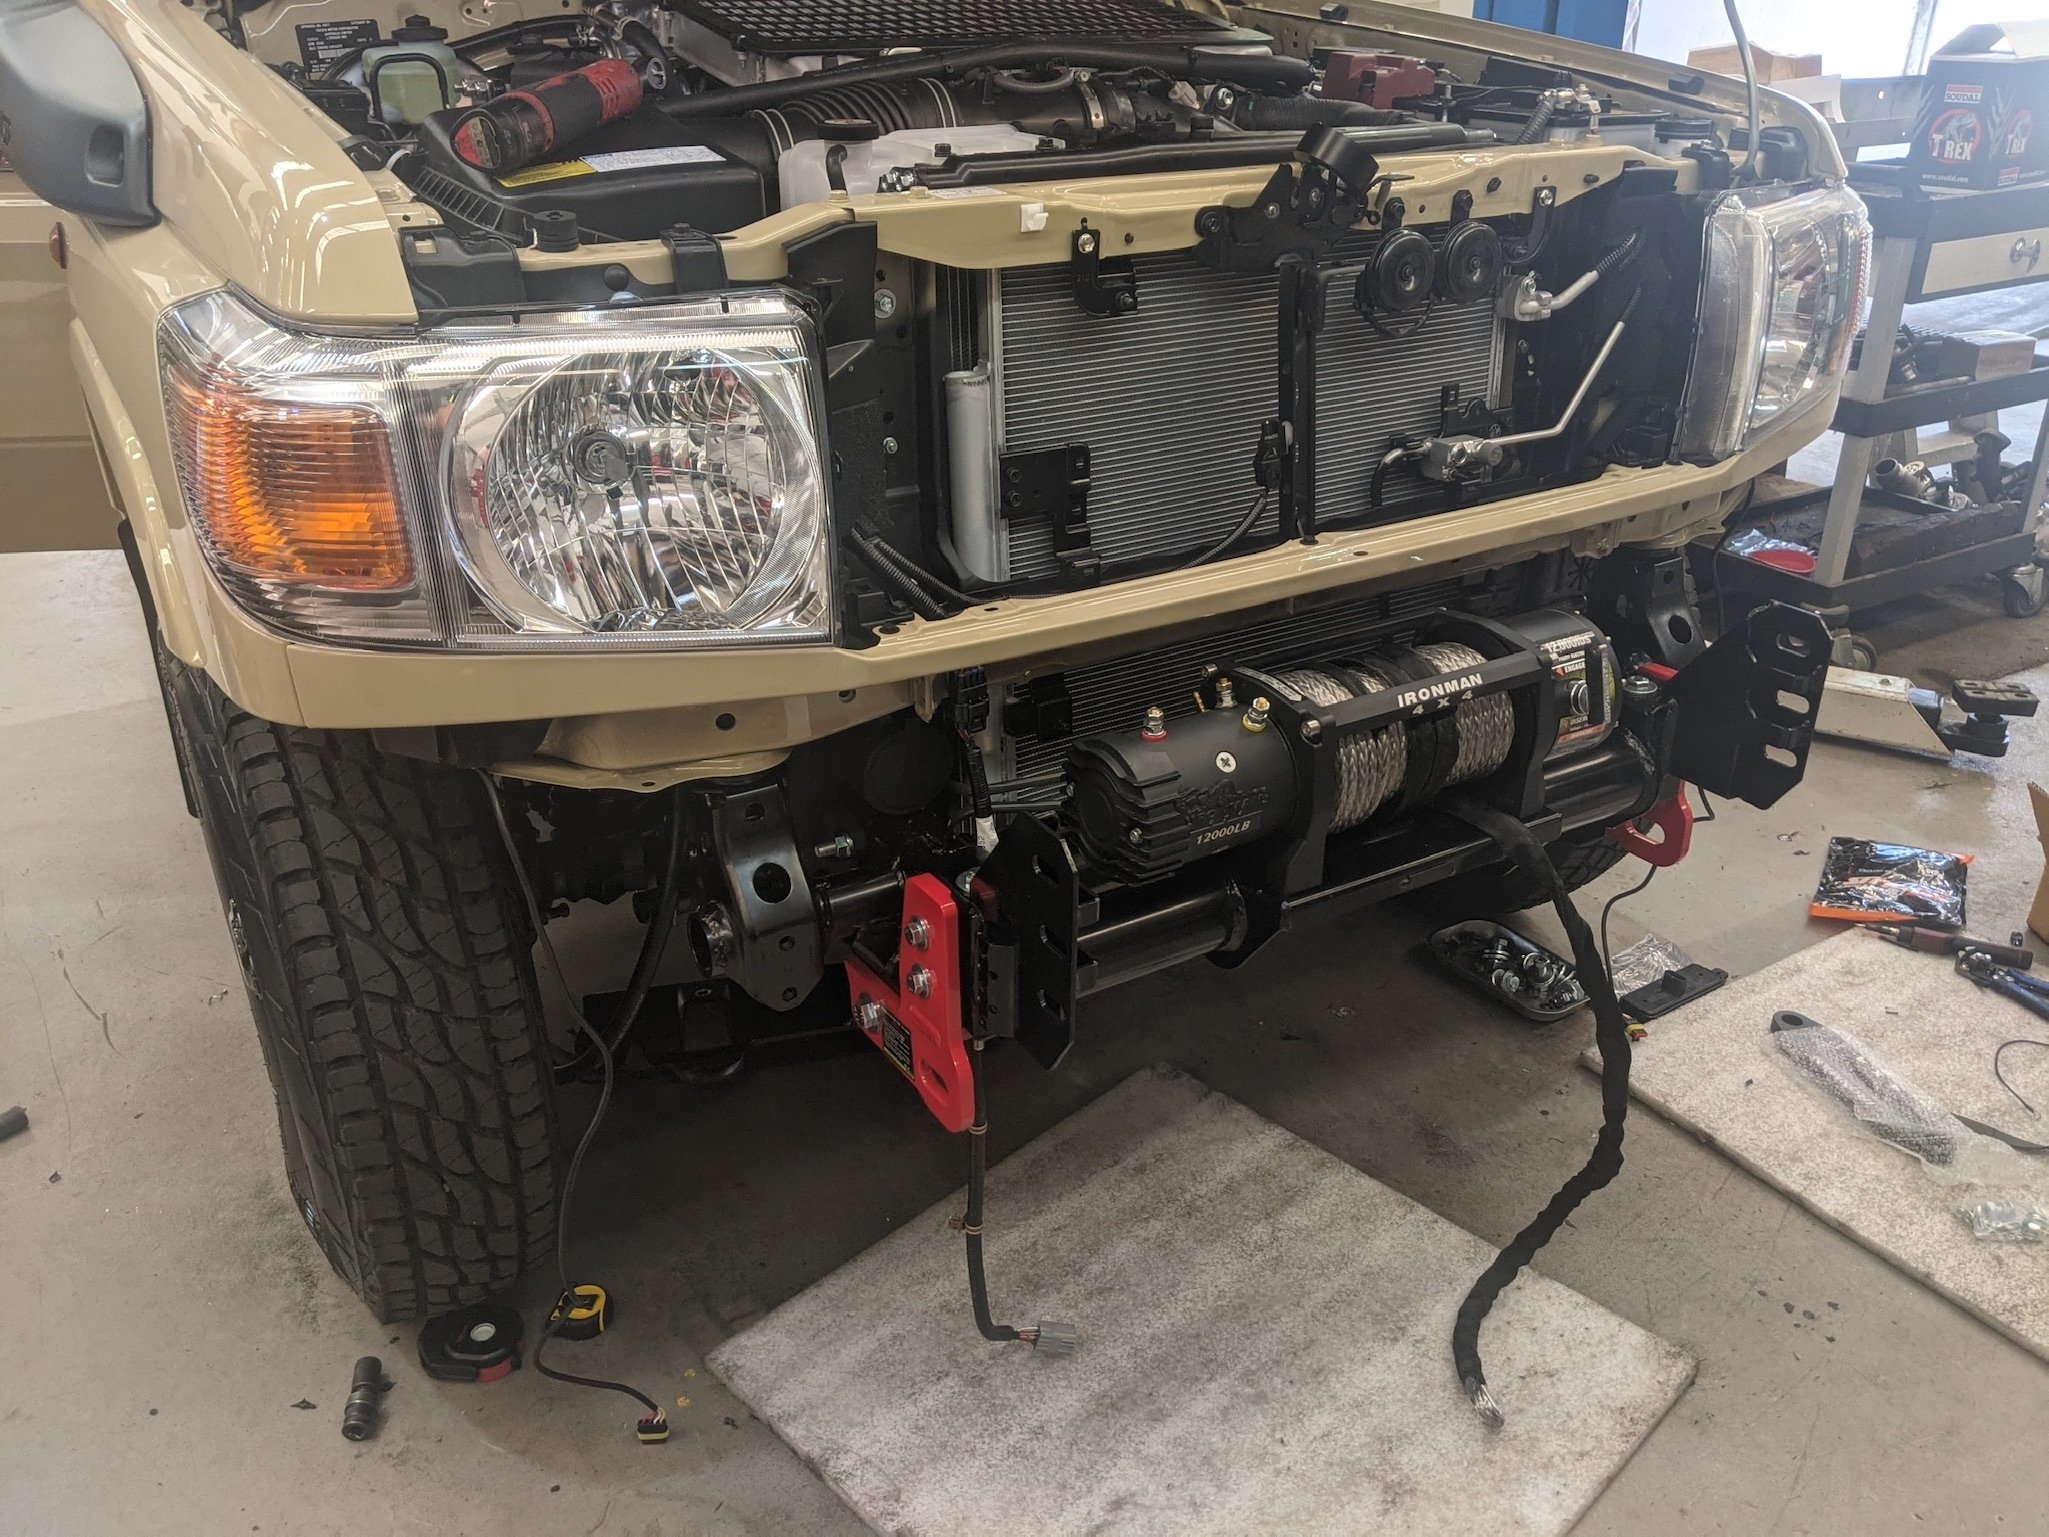
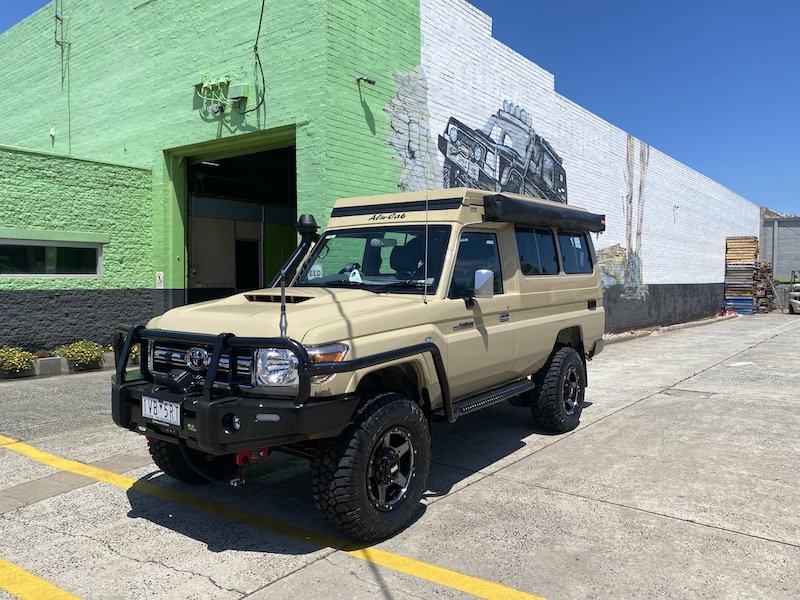
At the time of ordering, we thought we might want to convert it to be a live-in vehicle, a bit like making an off-road version of our VW camper that we had holidayed in across Europe. To ensure we could do this as soon as it arrived, we scheduled it into NorthEastern 4X4 just across the road from the Toyota dealer to have an Alu-cab Hercules roof conversion, 270 Shadow awning and shower cube fitted at the same time as having the Iron Man suspension up-grade and fit the winch, bull-bars, tow hitch and 2-way radio to make it even more capable of traversing the outback tracks we hoped to explore. So, when it finally arrived, as you do with a brand new vehicle, we immediately sent it straight to have its roof cut off and many of its shiny bits removed and replaced with more rufty tufty bits. Bizarrely, at the time all this work was going on, we didn’t actually own it. When we turned up to pay and drive it away, the Toyota chap said that if we hadn’t paid they would have been able to sell it for way more than we were paying so he wasn’t worried. During the pandemic, many Australians bought vehicles and caravans to travel at home rather than holidaying abroad so the demand, and the prices, rocketed. This, coupled with manufacturing and supply challenges, meant such vehicles commanded high prices. A situation that was helpful for us provided it lasted until we were ready to sell.
We knew we wanted to shrink our living space even further and turn our car into our home so we had watched hundreds of YouTube videos, met well known Troopy travellers Jack and Megan and Mark and Jolie as well as many others on the road and listened to their experiences both of building and living in their vehicles. In particular, we noted how challenging it can be to cook if the only option to do so is an outdoor kitchen in the form of a pull-out drawer system or cook top on the back door shelf. In fact, if the weather or insect life is at its worst, doing anything outside is uncomfortable and sometimes impossible. So we were pretty sure about what we wanted and, even more importantly, what we didn’t want, and came up with three pre-requisites for our design brief.
To be able to easily do each of the following inside or outside:
1 - Cook
2 - Wash up / clean our teeth
3 - Sit comfortably
So, with this in mind we planned our interior build to include an induction cook-top that could safely be used inside but could also be taken outside. We chose a little sink with a tap and a lid but also planned an outside tap. We removed the fridge/freezer we had been using in the old Troopy from it’s drop-slide mechanism so it could be installed in a cabinet. We also chose seat cushion foam that would be suitable to sleep on if needed as well as for lounge seating to chill indoors. We already had very comfortable camp chairs chosen after sitting in every available chair in the whole of Adelaide when we first started our travels.
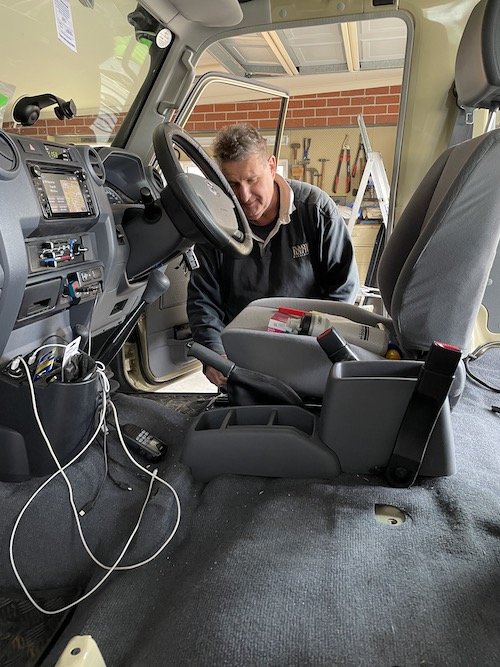
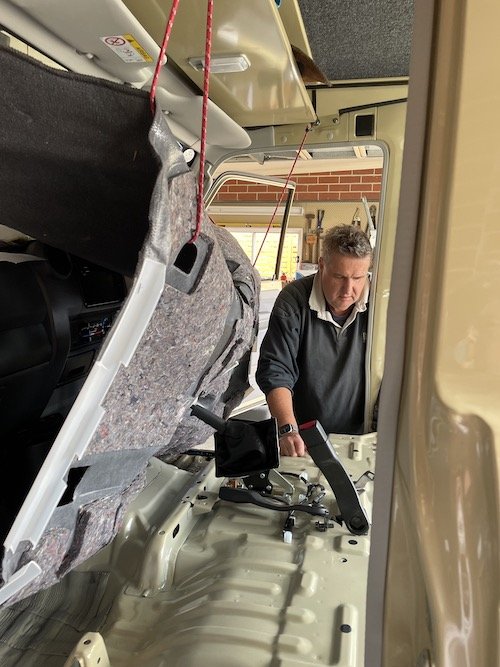
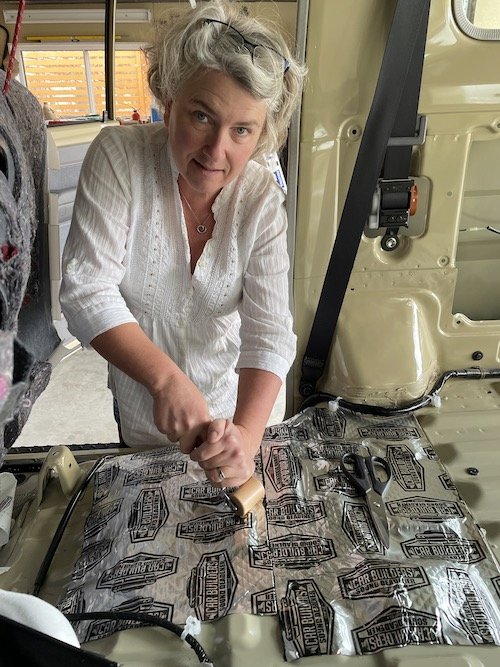
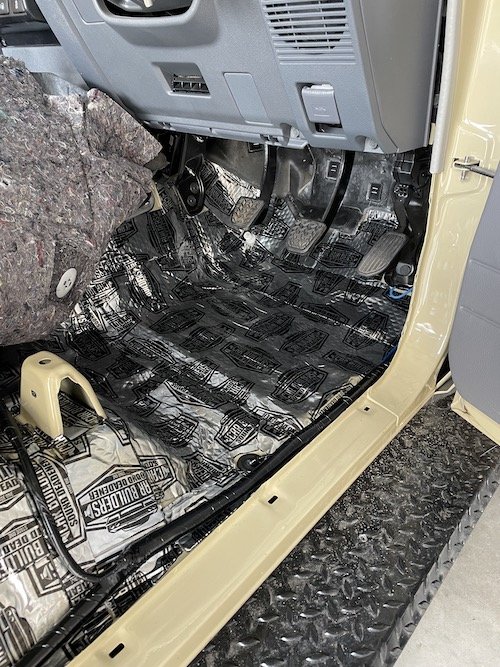
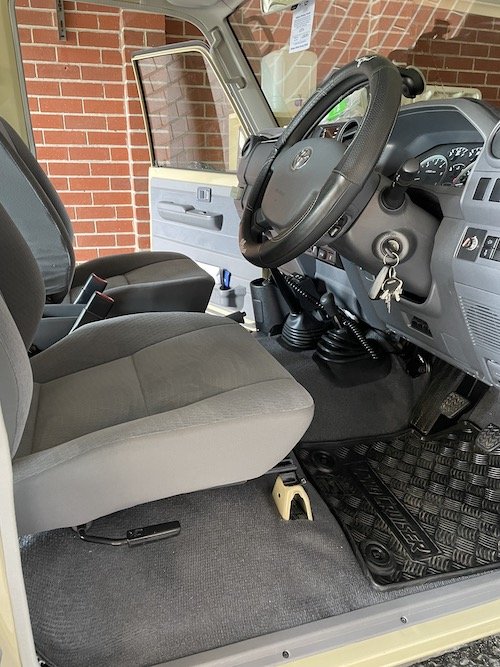
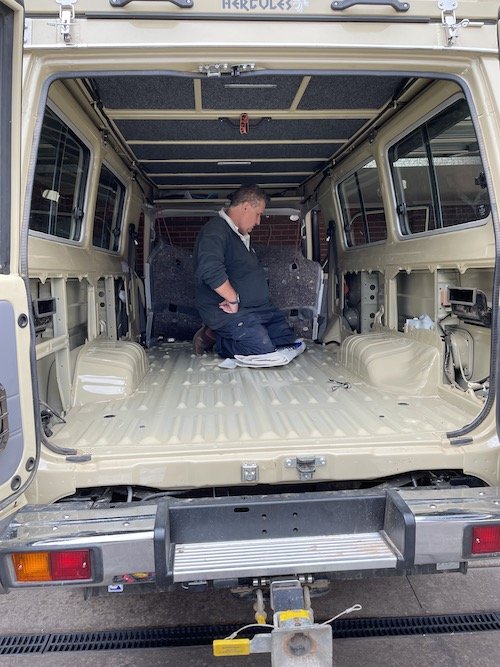
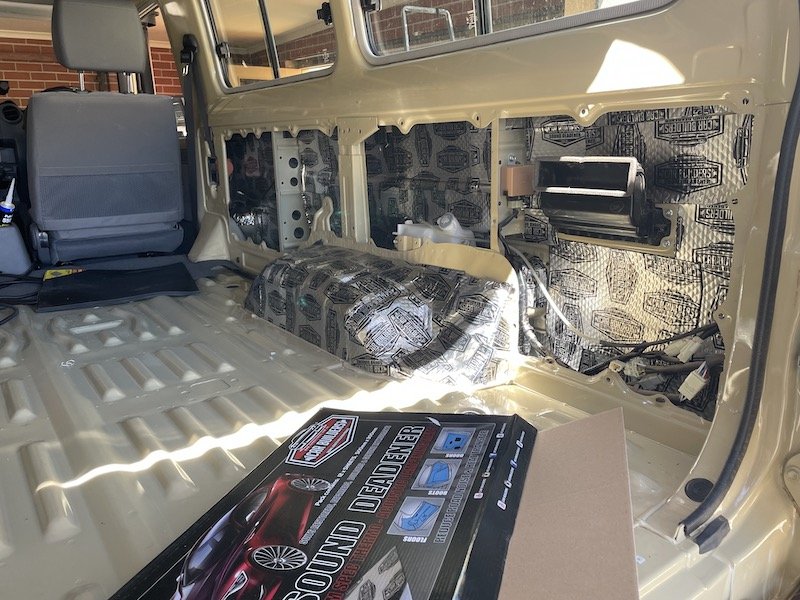
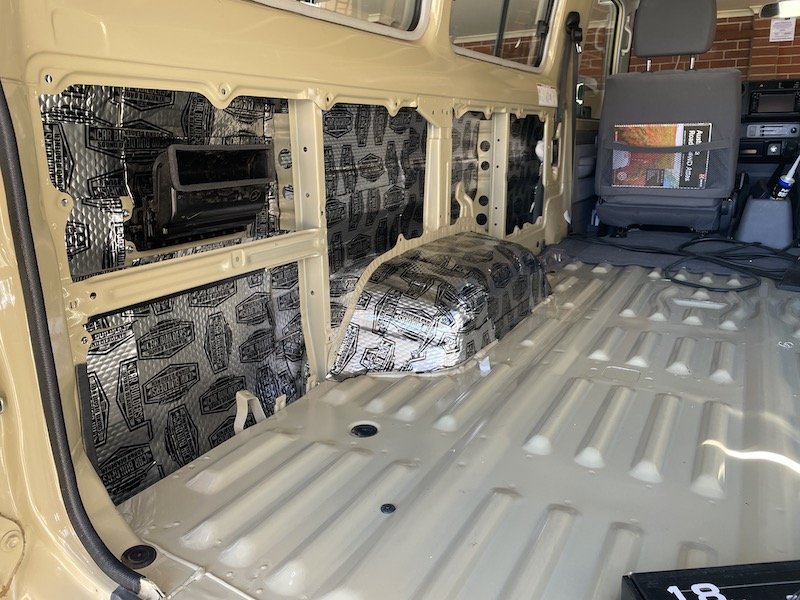
We then set about dismantling our new car from the inside so we could install sound deadening insulation to as much of the metalwork as possible. This is made of foil surfaced sheet with a substance the consistency of bitumen that sticks to the body work (and anything else it touches) so it can be moulded around all the weird shapes of the inside of a vehicle. We’d used it before on our VW camper and it makes a huge difference to the internal noise levels and, because of the basic nature of the Troopy, we knew there was hardly any insulation so it was worth the effort for more comfortable driving.

In such a small space, it helps if things have more than one use and a great example is the Trax Table. This is a sturdy fold-down table that hangs on the outside of the vehicle and also neatly stores the MaxTrax recovery tracks that go under the wheels if you get bogged in sand or mud. We picked this up from the Quick Pitch who make them in Perth as we knew we would be able to fit it ourselves. Scarily, this involved drilling holes in the shiny new paintwork so we did a lot of measuring, marking and treble checking each others work before Ian made me drill the first hole!
Our planning for the cabinetry was done in old school fashion on squared paper with a scale rule. In all, we had eight separate cabinets to house our kitchen equipment, cook top, fridge, loo, batteries, tools and recovery gear. Oh yes, and a few clothes too! Each one had to fix together really solidly so they wouldn’t shake apart, open without fouling on the next one and contain its contents without rattling while we drove along. Consider for a moment that each one has at least six pieces; a top, bottom, sides and some had shelves and doors which, in turn had to have secure latches that wouldn’t open as we drove on rough tracks. To add a further layer of complexity, they are square at the front and top but need to fit around the contours of the vehicle at the back and need to be secured in such a way that they don’t kill us if we rolled over.
Original cabinetry plan and external measurements (we used a ruler later!)
The components of each box had to be very accurately cut so we outsourced that the experts at In2Ply who could turn our cutting list into a cutting layout for his cutting table machine. For beauty, strength and ease of joining we had chosen 18mm birch faced ply (a decision open to debate because it is so heavy). When we collected our beautifully cut wood, we were also given all the off cuts, all neatly laid out as complete sheets of ply. None of the pieces were labeled and as we loaded them off the pallet into the Troopy, we realised we would have to work out which piece of wood was what part of what cabinet. It took an entire day to measure each piece, match it to the cutting list and place it in one of eight piles before doing a dry fit of each cabinet to make sure all the bits were there.
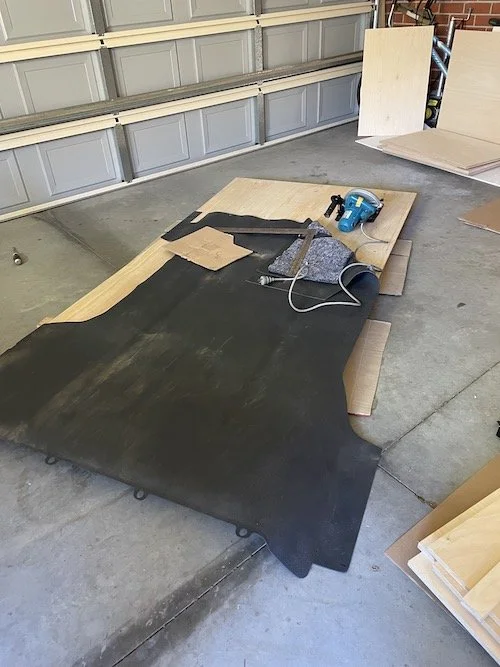
Having spent a career as a woodwork teacher, my brother Ken has a well equipped workshop in his spacious garage and we had three weeks while he and Roberta were away in their caravan to build and install our Troopy interior. We started with the floor, using the original vinyl as a template, then made each cabinet using biscuit joints and glue plus a few screws where they wouldn’t be visible. Once complete, we cut out sections to fit them around the wheel arches and other internal structures. Lastly, everything was varnished before hinges and catches were installed. We had amazing help from Roberta’s daughter, Nicola, who was meticulous with the varnishing.
As each cabinet was completed, we placed them together into position on the garage floor and moved around pretending we were in the Troopy, then set about installing them into the vehicle. Thankfully we didn’t have to move them in and out too many times but we were starting to be a bit concerned about the weight.
Mock-up in the garage
Dry fit in the Troopy
Nicola’s husband, Vlad, did a fantastic job of wiring in the two 175Amp/hr Atlas lithium batteries from Aussie Batteries and the 2000W Redarc inverter to go with the two Ridgeryder 160W rigid solar panels from Supercheap Ian fitted to the roof. These are supplemented with a 200W Hardkorr fold-out solar panel that can be placed in the sun if we camp in the shade. A Redarc manager 30 manages the in-house power. Under the bonnet we also have a 100AH lead acid auxiliary battery which provides emergency means of starting the engine if needed. At the point of wiring, we were under such time pressure to finish that I didn’t take any photos of Vlad or his beautiful wiring being done but here’s one once it was installed, so you’ll have to take my word that it is a thing of beauty.
The foam for the seating cushions came from Clark Rubber, who cut six cushions to size in the store and wrapped each one in wadding to soften the shape, all while I waited in a nearby coffee shop. We chose a high density yellow foam that is suitable both for seating and as a mattress because we designed the interior so that a slatted board could pull out and cushions arranged to turn the seats into a bed. This would allow us to sleep separately if one of us were ill (which came in handy after my hip replacement) or for a guest to stay or just to lounge on to watch a movie.
Many of the Troopies we’ve seen are very plain inside and, well, a bit blokey, if that’s not too un-PC. I wasn’t keen on plain fabric as it shows every mark so chose a really bright multicoloured fabric for the seats and used spare for drawer linings and storage bags. At Nicola’s suggestion, I made lining covers from an old sheet to make the outer covers easier to remove for washing. I used a really simple box cushion method (includes a fabric calculator) to make all the covers which is quite the most elegant and efficient use of fabric I’ve come across. I made curtains from a second hand silk saree as I was keen that the interior was pretty and colourful but used the excuse that the sheer fabric was a weight-saving idea. Again, I was so busy making these, I forgot to take step-by-step photos but a later Troopy Tour Video will show them in all their glory - watch this space!
One of the features of the cabinets is that the cook top box containing the Safirey induction hob can be used inside and also be taken outside for al fresco cooking on the Trax Table. The box below it, known in the US as a chuck box, which contains our kitchen and dining utensils, can also be removed so that the whole kitchen can be set up under the awning. To facilitate this, we fitted quick release thumb-turn screws to the inside of the chuck box to secure it inside and handles to make it easier to carry. Ronny’s Trolleys supplied the used aluminium drawers from an airline galley trolley so they are very light and strong but don’t take up much space. I used left over cushion fabric to make pockets to house cups and glasses and utensil rolls that also hang on the doors as well as a little bag which doubles up as the ‘man drawer’ that every kitchen has.
A tip we had from Jack and Megan was that a loo was a ‘game changer’, particularly in bad weather or if you are unwell. We took them at their word and bought a Thetford Porta Potti 165 which was secreted under the seating near the back door for ease of emptying. On the subject of ablutions, Clanger, another Troopy owner we met traveling in WA, had been challenged by his partner, Lauren, to provide a means of having a daily hot shower. He had solved this by obtaining a neat little heat exchanger kit called a Glind that uses the heat from the engine when you first arrive at camp to warm up water and then deliver to a shower head. We bought the same kit and also fitted a bit of drain pipe with a tap at each end to the roof to store water for showering. This keeps it separate from our drinking water and can be filled with creek water if needed. The Glind pump can be used to heat the water in the pipe or just a bucket of creek water and even has a sand filter to slurp up water you can’t see under the sand.
We managed to get the bulk of the fit out done in the three weeks garage space we had at Ken and Roberta’s and were literally sweeping up the last of the sawdust as they rolled up the drive. For the next four months or so, we transported several bags of bits that we gradually fitted. The most significant of these was fitting the Glind in the engine bay which involved cutting the water pipes that provide engine cooling; not something to be undertaken lightly. So, just for the challenge, Ian chose to do this while camping at a remote bush camp with no phone signal! Thankfully it all went well and worked beautifully, although it did look a bit like he was being consumed by a giant monster as he lay on top of the engine.
Fitting the Glind in the middle of remote Victorian bush camp
In addition to the 20 litre shower pipe, we had two stainless steel water tanks fitted under the car which hold 50 and 40 litres, one feeds the indoor sink and the other the outside tap under the back bumper which Ian plumbed in and wired up whilst on our travels. Then on a swing out carrier behind the back door, we have two jerry cans with taps each holding 20 litres. This collection of five containers is safer than having it all in a single tank that would be lost if damaged or contaminated and makes filling possible if we can’t reach our hose to a tap. The car has two separate fuel tanks, each holding 90 litres, so this and 130 litres of drinking water allows us to travel for two weeks or more without needing to stock up.
Other later additions include multiple lights including three LED strips on the arms of the awning, two on the awning box and two more strips that clip on the vertical awning poles all of which are orange as this doesn’t attract bugs like the white ones. Then we have four bright spot lamps, one on each corner of the roof, we affectionately called dingo lights. These flood the space around the vehicle if we need to investigate a strange noise in the night or work out where to camp if we arrive after dark. Lastly, and my favourite, a strip of colour change LEDs just above the windows indoors to provide ambient lighting. These were just $15 from the supermarket and even came with a little remote to phase through the colour spectrum for a disco effect. They are all wired in to a 4-channel radio controlled relay that allows them to be controlled by button fobs that we velcro to the ceiling, one at the back and one in the cab.
After living in the Troopy for quite a short time, we realised that the wooden kitchen chuck box was not practical to move outdoors because it was just too heavy and awkward. It had seemed ok in the kitchen mock-up in the garage but lifting, turning and climbing backwards out of the Troopy was a back injury waiting to happen. So we ordered two airline galley boxes and a couple more drawers from Ronnie Trollies to replace the chuck box and Ian made an aluminium box to replace the cooktop box. With further hindsight we probably didn’t need to change the cooktop box but the metal boxes all worked really well and allowed us to maintain our indoor/outdoor cooking as planned.
It took months to get around to filming a tour and then more months to finish editing but here it is at last Our Troopy Tour video.
Not sure what’s coming next but it will be nice so watch this space
